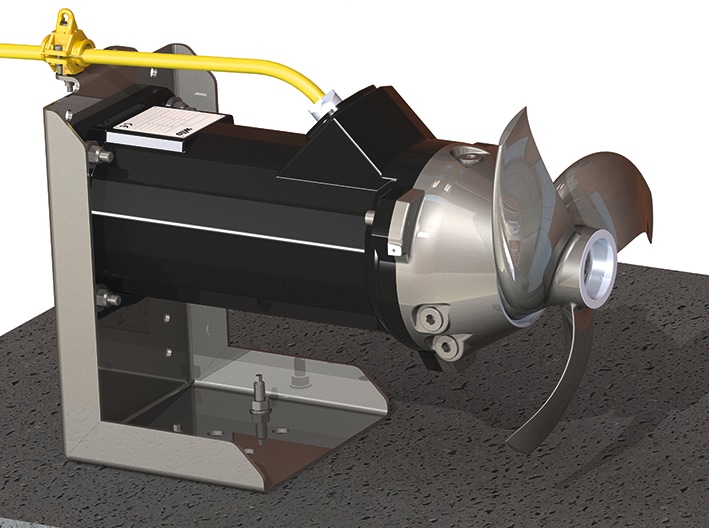
Ground installation
In the case of ground installation, the mixer is fixed directly to the floor of the basin using a mounting bracket. Lay the connection cable along the basin floor and upwards up the basin wall.
- Operating space/installation location is prepared for the installation. Defined clearances to fixtures and basin walls are kept in accordance with the consulting documents.
- Mixer is not connected to the mains.
- Mounting bracket mounted on the mixer.
- Have 2 persons position the mixer on the basin floor and mark 2 fixation holes.
- Set the mixer down outside of the working area.
- Drill fixation holes and insert anchor bolts.
- Once the anchor bolts have hardened in place, have 2 persons position the mixer on the anchor bolts and fix in place with fixation material.
- Mount the mixer firmly against the basin floor.
- Lay the connection cable against the basin floor and the basin wall so that it is slightly taut.
- Apply corrosion protection (e.g. Sikaflex):
- Sealing joint between mounting bracket and structure.
- Fill holes in the baseplate of the mounting bracket.
- Fill scratches in the mounting bracket.
- Mixer is installed. Make the electrical connection.